How to use Carbon API?
In this section, we will see how we can use the Carbon API.
Step 1: Import nef library in your project
If you need to know how to add nef dependency to your macOS project, read How to use nef as a library? section.
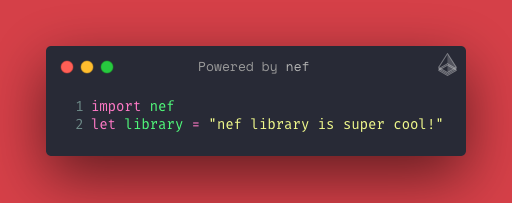
import nef
Step 2: Create a Carbon style
Create a carbon style to apply to our code, in the generated snippet image.
 let code =  """
             import nef
             let library = 'nef library is super cool!'
             """

 let style = CarbonStyle(background: .bow,
                         theme: .dracula,
                         size: .x1,
                         fontType: .firaCode,
                         lineNumbers: true, watermark: true)
Step 3: Render a Carbon image using Carbon API
We could render a Carbon image using this configuration and our code, invoking the next Carbon API
let io: EnvIO<nef.Console, nef.Error, Data> = nef.Carbon.render(code: code, style: style)
You will receive an EnvIO, which lets you suspend the execution of the side effects; in the example, to create the Carbon image. That way, we could combine and compose it with other operations.
We can extract the associated image and work with them, for example, if we have a method to transform this Data to NSImage, we can obtain an IO<nef.Error, NSImage> as follows:
 func extractImage(from data: Data) -> IO<nef.Error, NSImage> { ... }

 let imageIO: IO<nef.Error, NSImage> = io.provide(console).flatMap(extractImage)^
You can write the NSImage or draw in your view, and the appearance will be: